Setting the Stage
Welcome to the first part of our journey towards building a versatile web application to control Raspberry Pi cameras. Whether you’re a seasoned scientist or a hobbyist eager to explore the possibilities of integrating hardware with web technologies, this guide is for you. Today, we’re going to set up our environment. By the end of this post, you’ll have everything you need to start developing your own Raspberry Pi camera app.
Hardware Requirements
Before we dive into the nitty-gritty, let’s gather our gear:
- Raspberry Pi: The heart of our project. Any model with GPIO pins will work, but the Raspberry Pi 4 is recommended for its processing power.
- Raspberry Pi Camera Module: The eyes of our project. Make sure it’s compatible with your Pi model.
- SD Card with Raspberry Pi OS: The brain, pre-installed with Raspberry Pi OS (formerly Raspbian). A 16GB card should suffice, but more space never hurts.
- Power Supply: Keep your Pi juiced up. A 5V 3A power supply is recommended.
- Network Connection: Ethernet or Wi-Fi to access the Pi remotely. No one likes being tethered to a screen and keyboard.
Software Requirements
To control our camera and create a web interface, we need the following software:
- Python 3: The language of choice for this project.
- Flask: A lightweight web framework for Python that makes web development a breeze.
- Picamera2 Library: The library that allows us to control the Raspberry Pi camera.
- Browser: To access our web interface from any device on the network.
Installation Steps
Step 1: Installing Python and pip
First, let’s make sure Python 3 and pip (Python’s package installer) are installed on your Raspberry Pi.
Open a terminal on your Raspberry Pi and type:
sudo apt update
sudo apt install python3 python3-pip
This ensures you have the latest version of Python 3 and pip.
Step 2: Installing Flask, Picamera2, and OpenAI API Library
With Python and pip ready to go, let’s install the necessary libraries.
- Flask:
pip3 install Flask- Picamera2:
First, install the necessary dependencies:
sudo apt install libcamera-dev libcamera-apps
pip3 install picamera2
Wrapping Up
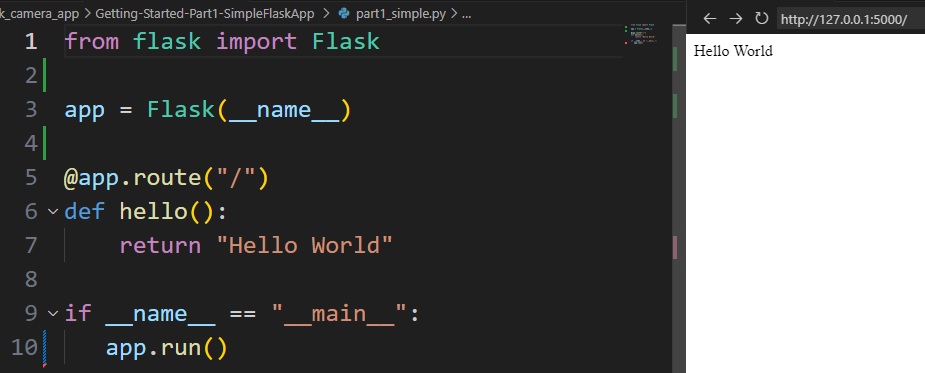
With the hardware assembled and software installed, you’re ready to start coding. In the next part of this series, we’ll dive into creating a simple Flask application to serve as our web interface. Think of it as setting up the stage before the grand performance. Stay tuned, and let’s keep this momentum going!
That’s it for Part 1. Make sure your Raspberry Pi is ready and your environment is set up, because next time, we’re jumping straight into the action with Flask. Happy coding!
Schreibe einen Kommentar