Outline:
- Step 1: Creating a Simple Flask App
- Write a simple „Hello World“ Flask app.
- Explain each part of the code.
- Test the app to ensure it runs correctly.
- Step 2: Adding an HTML Page
- Create a basic HTML page to be rendered by Flask.
- Explain the use of templates in Flask.
- Update the Flask app to render the HTML page.
Welcome back! Now that we’ve set up our environment, it’s time to start building our Flask application. In this part, we’ll create a simple „Hello World“ Flask app and then add a basic HTML page to it. By the end of this post, you’ll have a foundational web application running on your Raspberry Pi.
Step 1: Creating a Simple Flask App
Writing a Simple „Hello World“ Flask App
Let’s start by writing a simple Flask application that displays „Hello World“ in your browser. Open your terminal and create a new Python file called app.py in your project directory then type in:
from flask import Flask

app = Flask(__name__)

@app.route('/')
def index():
    return "Hello World!"

if __name__ == '__main__':
    app.run(host='0.0.0.0', port=5000, debug=True)
Explanation of the Code
app.run(host='0.0.0.0', port=5000, debug=True): This runs the Flask application on all available IP addresses (0.0.0.0) on port 5000. The debug=True flag enables debug mode, which provides helpful error messages and auto-restarts the server when code changes.
from flask import Flask: This imports the Flask class from the Flask library.
app = Flask(__name__): Creates an instance of the Flask class. This instance will be our Web Server Gateway Interface (WSGI) application.
@app.route('/'): This is a decorator that tells Flask which URL should trigger the index function.
def index(): This is the function that will be called when the root URL (/) is accessed. It returns the string „Hello World!“.
if __name__ == '__main__': This ensures the server runs only if the script is executed directly (not imported as a module).
from flask import Flask: This imports the Flask class from the Flask library.app = Flask(__name__): Creates an instance of the Flask class. This instance will be our Web Server Gateway Interface (WSGI) application.@app.route('/'): This is a decorator that tells Flask which URL should trigger theindexfunction.def index(): This is the function that will be called when the root URL (/) is accessed. It returns the string „Hello World!“.if __name__ == '__main__': This ensures the server runs only if the script is executed directly (not imported as a module).app.run(host='0.0.0.0', port=5000, debug=True): This runs the Flask application on all available IP addresses (0.0.0.0) on port 5000. Thedebug=Trueflag enables debug mode, which provides helpful error messages and auto-restarts the server when code changes.
Testing the App
To test the app, run the following command in your terminal:
python app.pyOpen a web browser and navigate to http://<your-pi-ip-address>:5000. You should see „Hello World!“ displayed.
Step 2: Adding an HTML Page
Creating a Basic HTML Page
Now let’s create a basic HTML page that our Flask app will render. First, create a new directory called templates in your project directory. Inside the templates directory, create a file called index.html and add the following content:
<!DOCTYPE html>
<html>
<head>
    <title>Raspberry Pi Camera App</title>
</head>
<body>
    <h1>Hello from Flask!</h1>
</body>
</html>
Explanation of Templates in Flask
Templates are a powerful feature of Flask that allow you to keep your HTML separate from your Python code. Flask uses the Jinja2 templating engine, which lets you insert dynamic data into your HTML.
Updating the Flask App to Render the HTML Page
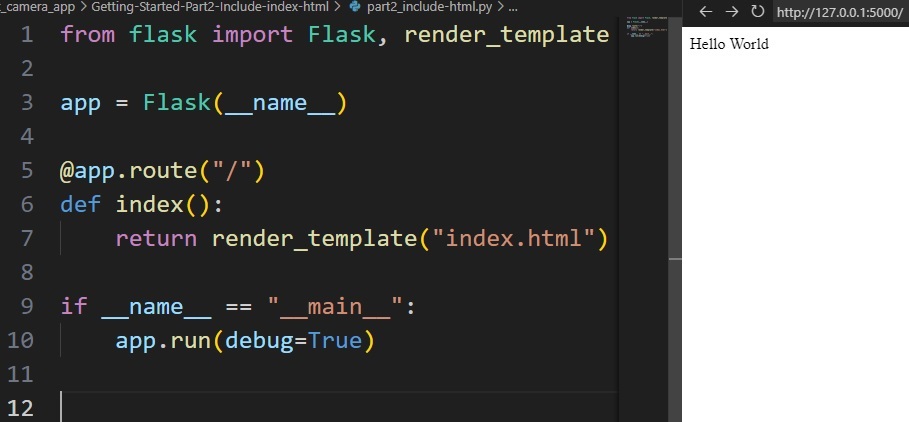
Let’s update our app.py to render this HTML page instead of returning a simple string:
from flask import Flask, render_template

app = Flask(__name__)

@app.route('/')
def index():
    return render_template('index.html')

if __name__ == '__main__':
    app.run(host='0.0.0.0', port=5000, debug=True)
In this updated code:
from flask import render_template: This imports therender_templatefunction from Flask.return render_template('index.html'): This tells Flask to render theindex.htmlfile from thetemplatesdirectory.
Testing the Updated App
Restart your Flask application by stopping it (Ctrl+C) and running it again:
python3 app.py
Open a web browser and navigate to http://<your-pi-ip-address>:5000. You should now see the HTML page with the message „Hello from Flask!“.
Wrapping Up
Congratulations! You’ve successfully created a basic Flask app and learned how to render HTML templates. This is a crucial step in building our Raspberry Pi camera app. In the next part, we’ll start integrating the Raspberry Pi camera and capturing images. Stay tuned for more exciting developments!
That’s it for Part 2. Keep experimenting and get comfortable with Flask, because next time, we’ll take things up a notch by adding camera functionality. Happy coding!
Schreibe einen Kommentar